
So as I have mentioned before, I am currently staying a house owned by my parents in South Bend, IN while the ultimate destination home in St. Louis is being built. So that I don't feel useless and so I don't go stir crazy while I'm there I have been making little projects for myself to help my parents get the house ready for renting during next years football season. The goal here is to have it look like something that you would spend $800 for a weekend in shared between 5-10 people. In my opinion that's a pretty reasonable price.
That said, one of the first projects I knew need need needed to happen was some headboards for each of the main bedrooms. They each have a "king" sized bed in them. When I say "king" though, I mean that it is two twin beds strapped together with something called a bed band and a bit of soft sheep thing in the middle to bridge the gap. This may seem janky to you, but there is a method to our madness. Not only is it way cheaper to get 4 twin beds, but also if you have say a group of bros that want to rent the house but think it's way skeezy to sleep together, then, voila!, four twin beds.
My challenge: Create 2 Beautiful King Sized Headboards that could convert easily into 4 Beautiful Twin Sized Headboards.
-------------------------------------------------------------------------------------------------------------------------------
I did a lot of DIY research on the headboard front. At first I thought it would be neat to make something out of upcycled dresser drawers for additional storage. But realistically, how much do you bring to a hotel that needs to be stored directly behind you. Also, interesting dresser drawers are hard to find on short notice at thrift stores. I ultimately decided on padded slat style headboards.
Now I'm not the most experienced when it comes to building something out of nothing, so believe me when I say I was just making it up as I went along.
Step One: Obtain Your Lumber.

Plywood and friends are easy to come by at your local hardware store. If you aren't sure they have what you need, don't rely on their website. Those are generally wrong or list things that won't be at your specific location. I suggest calling ahead to ask about exactly what you need. In my case I went for 1/4" Plywood cut into 12 planks 39" x 12" as well as these cheap thin slats made for deck building cut 52" and I kept the left overs from that.
My original plan was to have shaped the top of the headboards, but I ditched that last minute because we had a party of five (yes, I just said that) coming to stay at the house and I needed them done pronto!
Step Two: Obtain Your Fabrics
If there is any advice I can give you here, it is two fold: First, be extra careful in your measurements. I wound up getting almost exactly the right amounts I needed but I think that was from sheer luck. Second, make absolutely certain that if you're trying to match colors that you have the exact shade your matching to. The bedroom I'm showing you here is a strange color of blue. My mother managed to find bedding that works with it without fail, but the first time I went to buy fabric for this headboard I managed to be so far off the mark it almost made me cry. Luckily while I picked up some fabric for a decoupage project that was perfect instead. I went to Joann's where I got it initially and was prepared to put down some serious cash for this baller upholstery fabric, but it was HALF OFF!! I wanted to cry all over again.


Oh, yeah. You'll also need enough batting for three layers. This will make a lightly padded headboard. If you want something that looks thick and lush and have the money to plunk down, I'd go with a nice layer of 1/4" foam topped with batting, but that is SPENDY. Your choice.
Cut your batting and fabric to size so that you have AT LEAST one inch over hang on all four sides of your board. I would definitely go for two inches if you can.
Step Three: Making Your Cake.
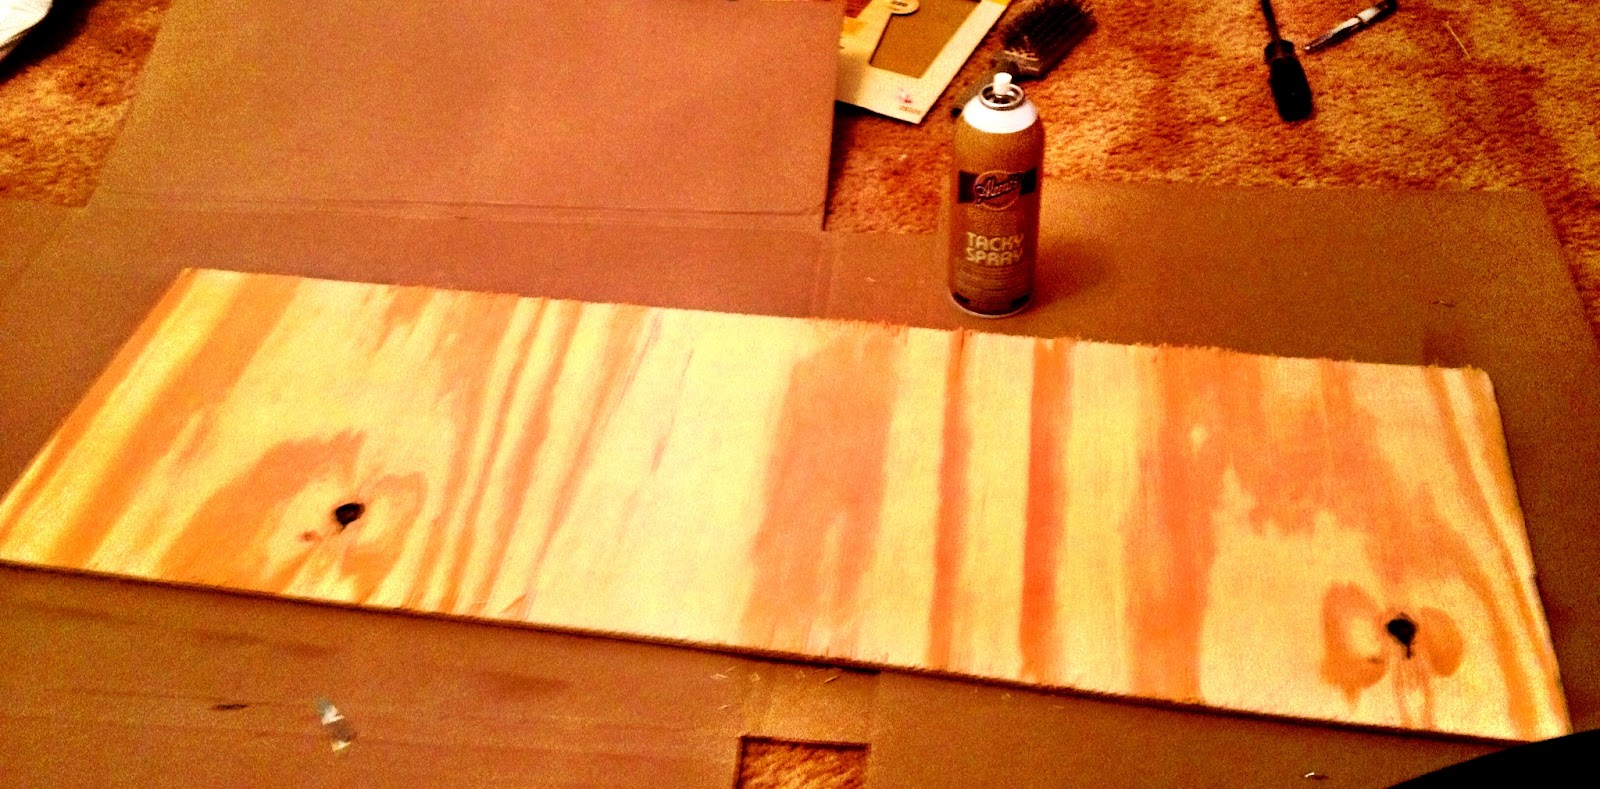
If you don't choose to work outside where the fumes won't choke you, like me, make sure to put something protective over your work area. In my case the carpeted living room got the unfolded cardboard box treatment. This wound up being the perfect shape for what I needed.
Using a can of spray adhesive, I prepped the board. I used Aleene'S 23501 Aleene's Crystal Clear "Tacky"Spray (Google Affiliate Ad) and wound up using a little over a can and a half. Then I laid down each layer of batting spraying more adhesive between each one. Finally the fabric. Take extra care here that your fabric goes on smooth and as free of wrinkles as possible. You might consider ironing before hand if you're into that kind of thing.

It should wind up looking something like this. I flipped it over so you could clearly see the layers. I don't show it so much in detail here, but at the corners of the board I cut away the batting so that it lined up with the edges of the board, like an inverse corner leaving just enough so I wouldn't have a sharp edge. I also put in diagonal cuts at the corners of the fabric.
Step Four: The Fun Part!

Starting from the center of one of the long edges, fold the fabric up on the back of the board and staple it down using your handy dandy staple/nail gun. I used 3/8" staples. Work from the center to the end of the board. Then return to the center and work the other way. Make sure to hold your fabric taught. You don't see me doing it, because I was hold my camera phone taught at the time.
After doing both long sides, go into gift wrapping mode. This is where you become concerned about the appearance of corners. Fold the diagonal corners in so that they wrap around the the corner and envelope the fabric. Your main goal here is to keep a nice looking line and not to have anything hanging out or any sharp edges.
Step Five: Rinse and Repeat
Do this until you have at least three boards finished (or however many boards you're taking to make a single headboard.)
Step Six: Put On the Legs.

Carefully lay out your completed boards so that they line up with each other. Lay your decking strips on them making sure that you've marked the height from the floor to the bottom board on each strip so that you don't have a wonky headboard. I used brad nails LIBERALLY to attach these strips to my boards and it was successful. You could also use more stables if you only have a staple gun. I also decided to use the remaining parts of the decking strips here to reinforce the legs. I would say then I used the remaining fabric to wrap the legs so that I didn't have bare wood hanging out, but I was running out of time and didn't do it. I WOULD HAVE DONE IT THOUGH and I do suggest you do.
Step Seven: Put In Place and Pat Yourself On the Back.

I am so freaking proud of the way this project turned out. I haven't taken pictures of the other bedroom yet, but when I do I'll add it to this post.
No comments:
Post a Comment